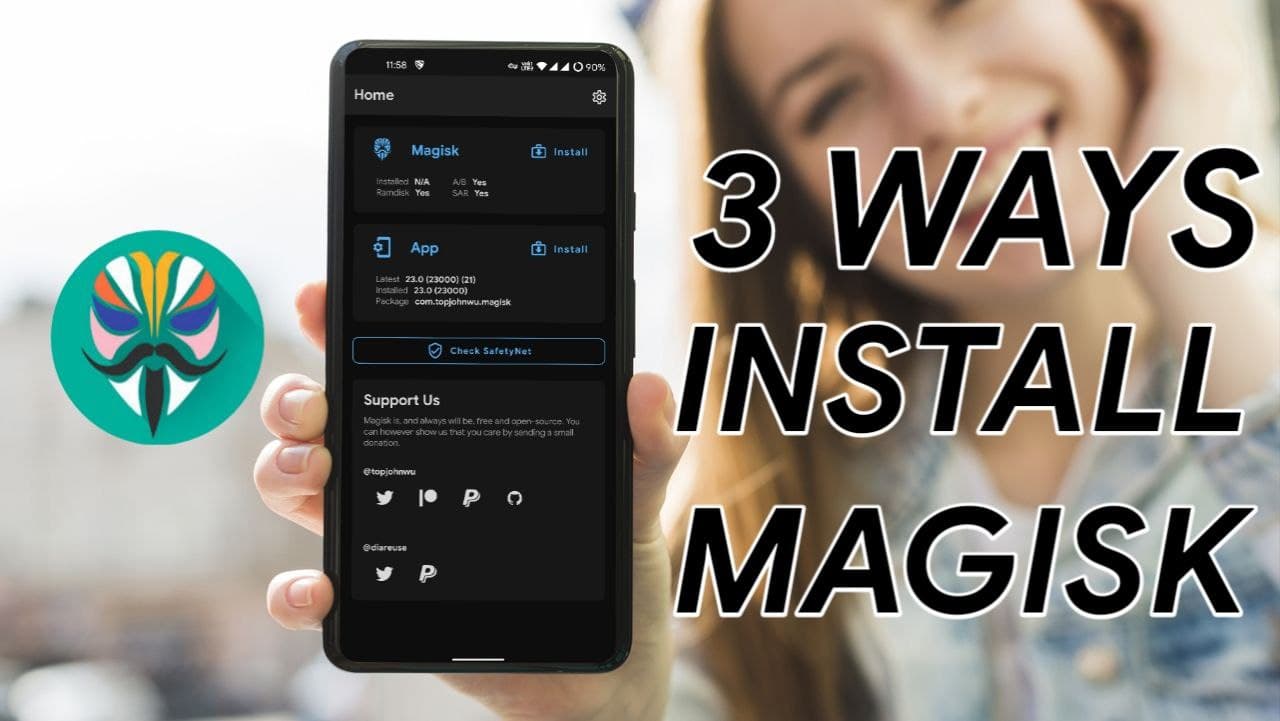
Magisk is one of the popular Root Manager for Android OS. It provides various features like Grant Root access, magisk hide, modules to enable different features, and much. Well In today’s article we’ll be showing you 3 ways to install magisk on any android phone.
About Magisk
Magisk is one of the popular Root manager developed by topjohnwu. In the current year, Almost all users use magisk because it provides various features and various ways to install Magisk. There is also a way that doesn’t require TWRP recovery to install. So, Almost all users prefer magisk over other root managers.
In some smartphones, Developers are not able to develop a custom recovery. But, we want to install Magisk or other zip files. In my case I have Oneplus 8 Running OxygenOS 11 but There is not TWRP recovery that supports TWRP. So, I use a different way to Install Magisk or any other custom ROM. You can follow the guide as well.
3 Ways to Install Magisk on any Android Phone
- Install Magisk using TWRP Recovery.
- Install Magisk using adb sideload method
- Install Magisk using patched boot image.

Requirements
– Unlocked Bootloader on your Phone
– Platform tools or Adb fastboot tools should be installed on your laptop.
Install Magisk using TWRP Recovery
1 . First of all, Visit the Official Magisk Github Page here.
2. Download Magisk v23.0 apk file.
3. Change the extension .apk to .zip.
4. Boot your smartphone to TWRP recovery.
5. Select the Magisk zip file and Flash it.
6. Reboot your device and Enjoy Magisk on your phone.
7. Install Magisk manager apk on your phone if not showing.
Install Magisk using Sideload
This option is for those users who doesn’t have any TWRP recovery for their smartphones.
1 . Visit the official Magisk Github page here.
2. Download Magisk v23.0 apk file.
3. Change the Extension from .apk to .zip.
4. Now, Boot your device into stock recovery or any other recovery.
5. Click on Apply Update and Select ADB sideload.
6. Copy the magisk.zip file on your laptop on the desktop.
7. Open cmd in your Laptop in desktop.
8. Connect your Smartphone to the laptop using a USB Cable.
9. Type the command “adb devices” (To Check your smartphone).
10. now, Type the command “adb sideload Magisk-v23.0.zip” (File name may vary for different versions).
11. Reboot your smartphone and enjoy.
Install Magisk using Patch Boot Image
For this method, you need to download the Stock ROM of your phone. So, Download it and Extract in your Laptop.
1 . Visit the Official magisk Github page here.
2. Download Magisk v23.5 apk in your phone.
3. Install the magisk app.
4. Now, On your Laptop Go to Your Stock Rom folder (You extracted before).
5. Copy the boot.img file to your phone.
6. Open the Magisk app and Click on Install.
7. Select Patch method and Select boot.img file.
8. Now, It will patch the boot image to install magisk.
9. Copy the magisk_patched.img file from your phone to your laptop. (You will find this file in your download folder on your phone).
10. Boot your device into Fastboot mode.
11. Connect your smartphone with your laptop.
12. Open cmd and type the command “fastboot devices” (To check your device is properly connected or not).
13. Now, Type the command “fastboot flash boot magisk_patched.img”
14. Reboot your phone and Magisk is now installed in your phone.
Thanks for reading this article. If you found this article helpful and interesting, let me know in the comments section and also share it with your friends. For more interesting android hacks, guides, Join our Telegram Channel.
Leave a Reply