
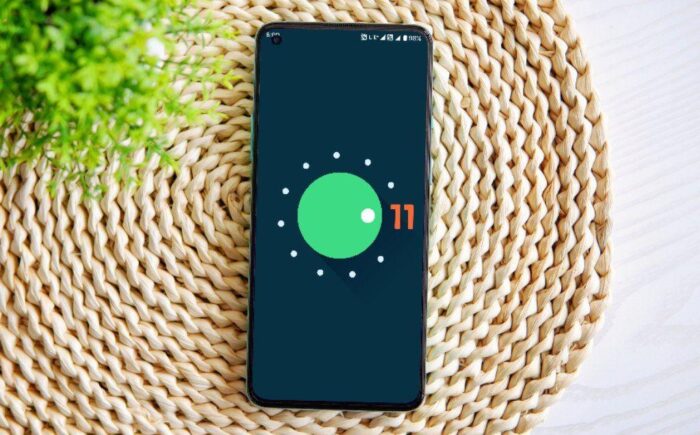
Android is one of the popular operating systems for Smartphones, SmartTVs, and more. Recently, Google released a Stable Android 11 and made it open source. Android 11 is available for various smartphones right now. Google also restricted to access Android/data folder in Android 11. Here you can access Android/data folder in android 11.
In Android 11, Google focuses on Security, Privacy, and new features. While the UI of the latest android look familiar to Android 10. Android 11 is available for various smartphones like Google Pixel Devices, Oneplus 8 Series smartphones, Poco F2 Pro, and more.
If you are using Android 11 based OS on your smartphone, You noticed that you can’t access data Folder inside Android in the Internal storage of your device. Google restricted this access to prevent from changing any files or folders created by Third-party apps.
I have talked about using the Android/data folder to get PUBG Mobile HDR + Extreme settings on any device. That trick can be easily done by accessing the data folder. In Android 11, you and even other apps like the GFX tool can’t access folders of other apps. So, It becomes impossible to modify graphics settings or other things manually or by other apps.
Today, I bring you a trick which will you to access the Android/data folder in android 11 and modify it. This trick will only work on rooted smartphones. So, Make sure that Your Smartphone is rooted. Follow the below process
Also read: Disable All Sensors in android for security purpose
How to Access Android/data folder in android 11
- First of all, Download any File manager that asks for Root access Like Mixplorer or Es File explorer.
- Install the File Manager and Open it.
- Now, Go to Root Directory.
- Give the Root Permission.
- Go to “mnt/pass_through/0/emulated/0/Android/data” directory
- There you can access the data folder in android 11.
- Now, you can make changes manually.
Note: Root is necessary. I recommend using Magisk.
Thanks for reading this article. If you found this article helpful and interesting, let me know in the comments section and also share it with your friends. For more interesting android hacks and tricks, Join our Telegram Channel.
Leave a Reply