
Viper4Android FX is one of the popular sound-enhancing apps after Dolby Atmos or Dolby Digital Plus. By installing this app, you can enhance the sound quality in your android device. If you are unable to install Dobly atmos or If Dolby digital isn’t working on your smartphone. You should try to Install Viper4FX in MIUI 11 and Custom Roms in your Android 10 Smartphone. This trick will help you with Android 10 smartphones.
Google applied new security and added some restrictions in Android Pie and Android 10. So, It is a bit difficult and complicated to install Dolby Atmos, Viper4FX, or any other Sound Enhancing app in Android Smartphones. You need to change the SELinux to Permissive and Also Install Audio Modification library to work the Viper4Android FX app perfectly in your smartphone.
Also Read: Install Dolby Digital Plus or Dolby Atmos in your Android 10 Phone
About Viper4Android FX
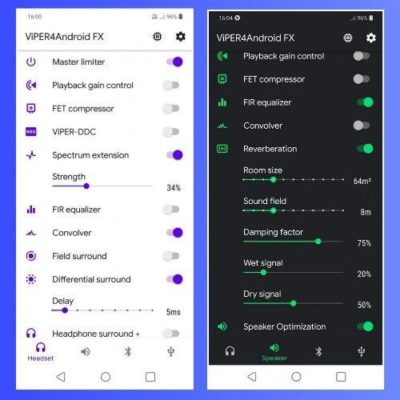
Viper4Android FX is an Android App that works on rooted Android Smartphones It helps to adjust, customize, and Enhance the Sound experience and quality in your android smartphone. It changes the sound experience and feels you more realistic in sound.
Requirements Before Intalling Viper4Android FX
- Root Acess via Magisk.
- Audio Modification Library Magisk Module (available in Magisk manager).
- Viper4Android FX app
How to Install Viper4Android FX in MIUI 11 and Custom Roms in Android 10 Smartphones?
- First of all, make sure that Your Magisk is updated to the latest version.
- Now, Install the Viper4Android FX app on your phone.
- Open the App but, Don’t install drivers in the app.
- Minimize the app in the background and open the Magisk Manager.
- Go to Menu>Downloads and search Audio Modification Library.
- Install the AML module but, Don’t reboot your device.
- Go back to the Viper4FX app and Click on the Install driver button.
- Your Device will reboot automatically.
- After device reboots, Open Magisk manager and Go to Modules.
- Uncheck the Audio Modification library (don’t remove).
- Open the Viper4FX app again and click Ok to install the driver automatically.
- Reboot your phone and Again Open Viper4FX app and Install the driver again.
- Your Device will reboot and Now, Viper will be working perfectly.
Note: The above process is bit difficult and complicated. So, follow the procedure carefully.
Thanks for reading this article. If you found this article interesting and helpful, Let me know in the comments section and share it with your friends.
Leave a Reply